
water, produce
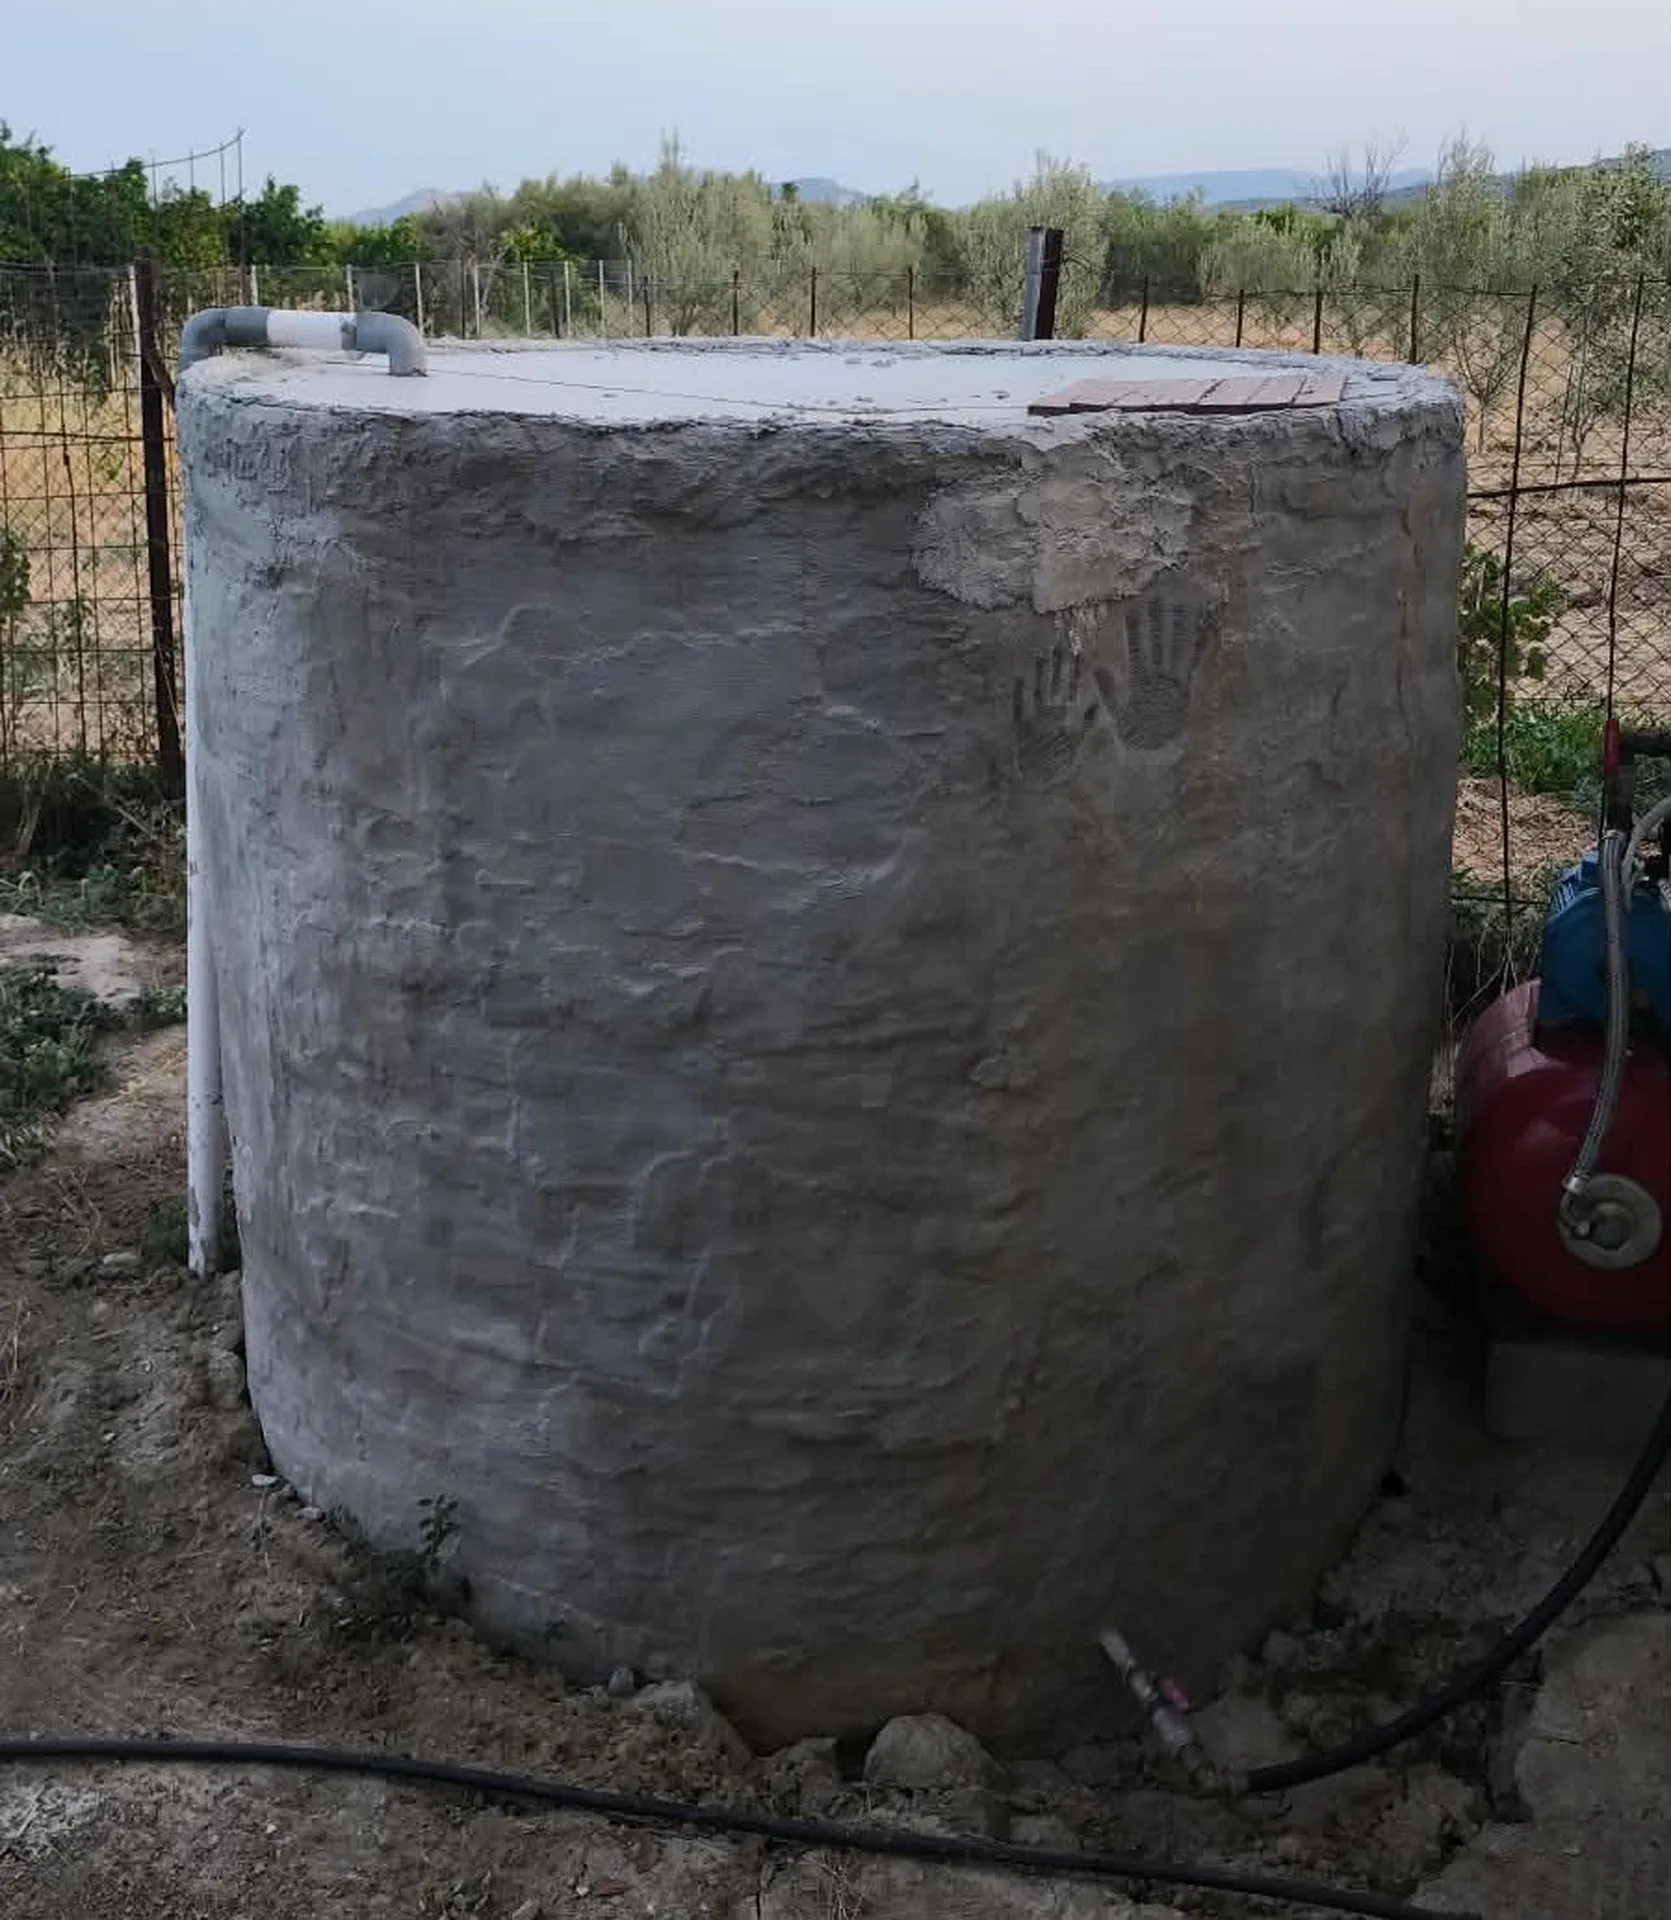
How we built our ferrocement water tank
We wanted to create a fairly large water tank for irrigating our vegetable garden, without going over budget or requiring specialized equipment and contractors.
From the beginning, we had three main priorities: capacity, cost, and construction difficulty. We didn't want a ready-made plastic tank, but we also didn't want a conventional reinforced-concrete structure that would require more materials, formwork, and heavy equipment.
After quite a bit of research, we settled on ferrocement. The concept suited us very well: a relatively lightweight but strong metal frame, several layers of mesh, and cement mortar applied gradually to create a single, strong shell.

Why a cylindrical shape
Our first decision was the shape. We chose to make the tank cylindrical, mainly because a circular shape helps distribute the pressure of the water more evenly around the walls.
As the amount of water increases, so does the pressure exerted on the walls, particularly towards the bottom of the tank. A cylindrical structure distributes these forces more evenly around its circumference and avoids the corners of a rectangular tank, where additional stresses can develop.
We decided to make it 2 meters wide and 2 meters high, making the capacity around 5.5 cubic meters. This was a good balance between useful capacity and not too hard to build.
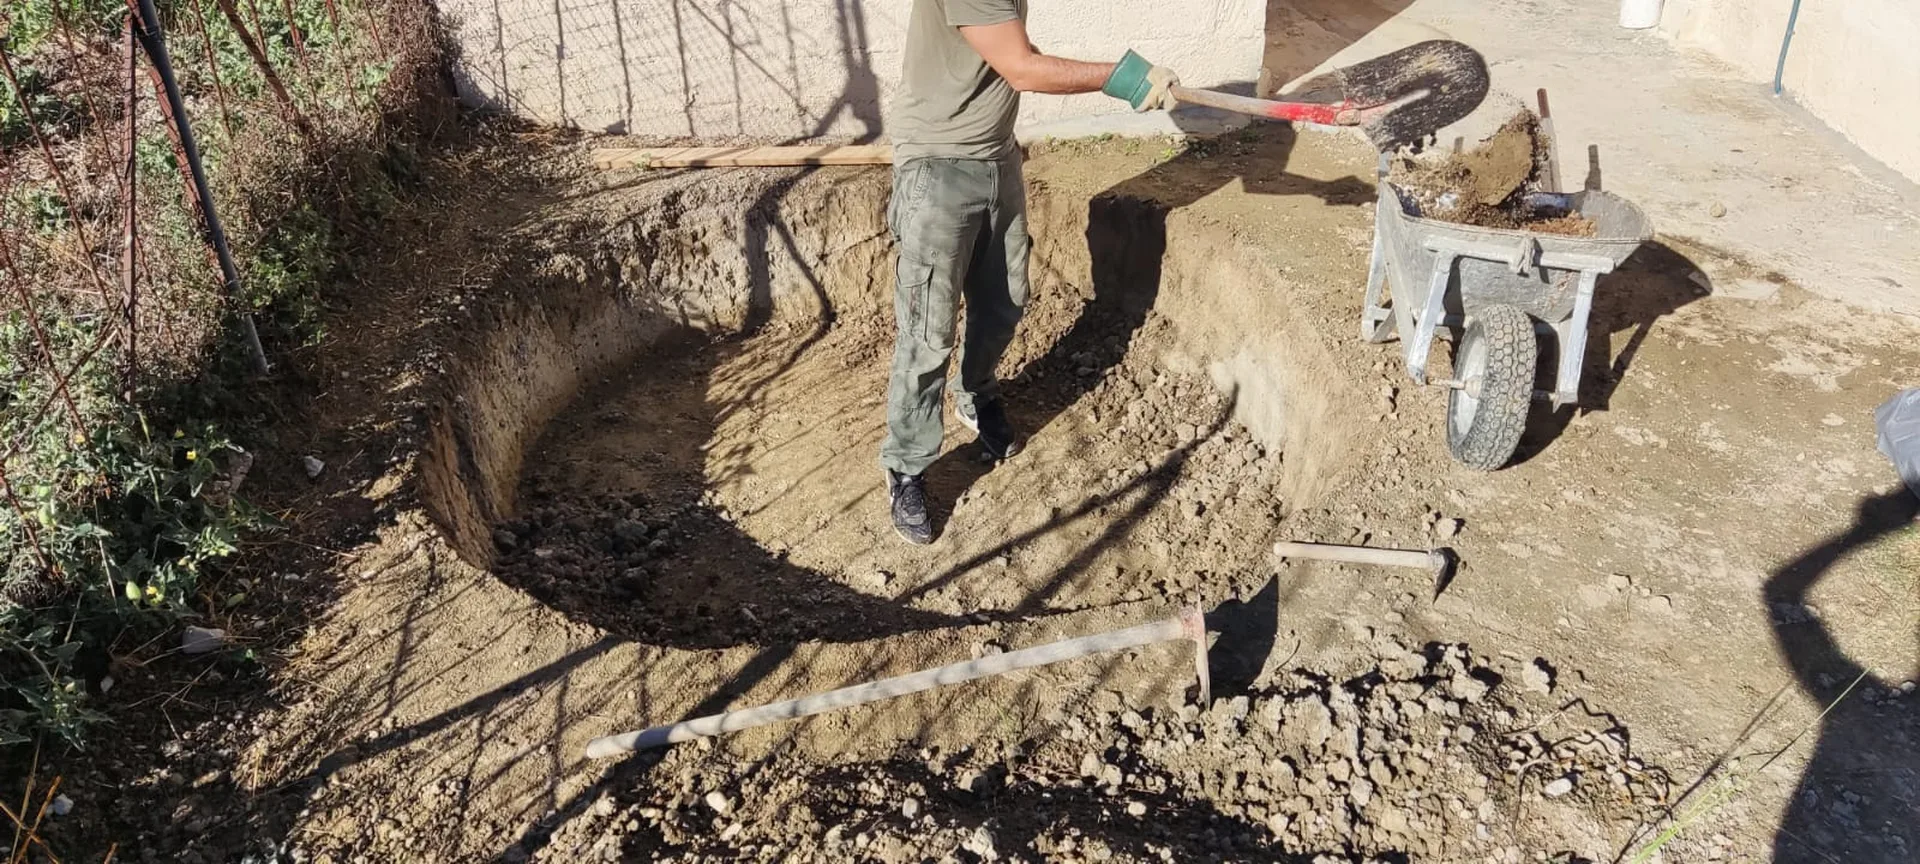
We also wanted to reduce the overall height of the structure. For this reason, we excavated approximately 50 cm into the ground, allowing part of the tank to sit below ground level.
The metal frame
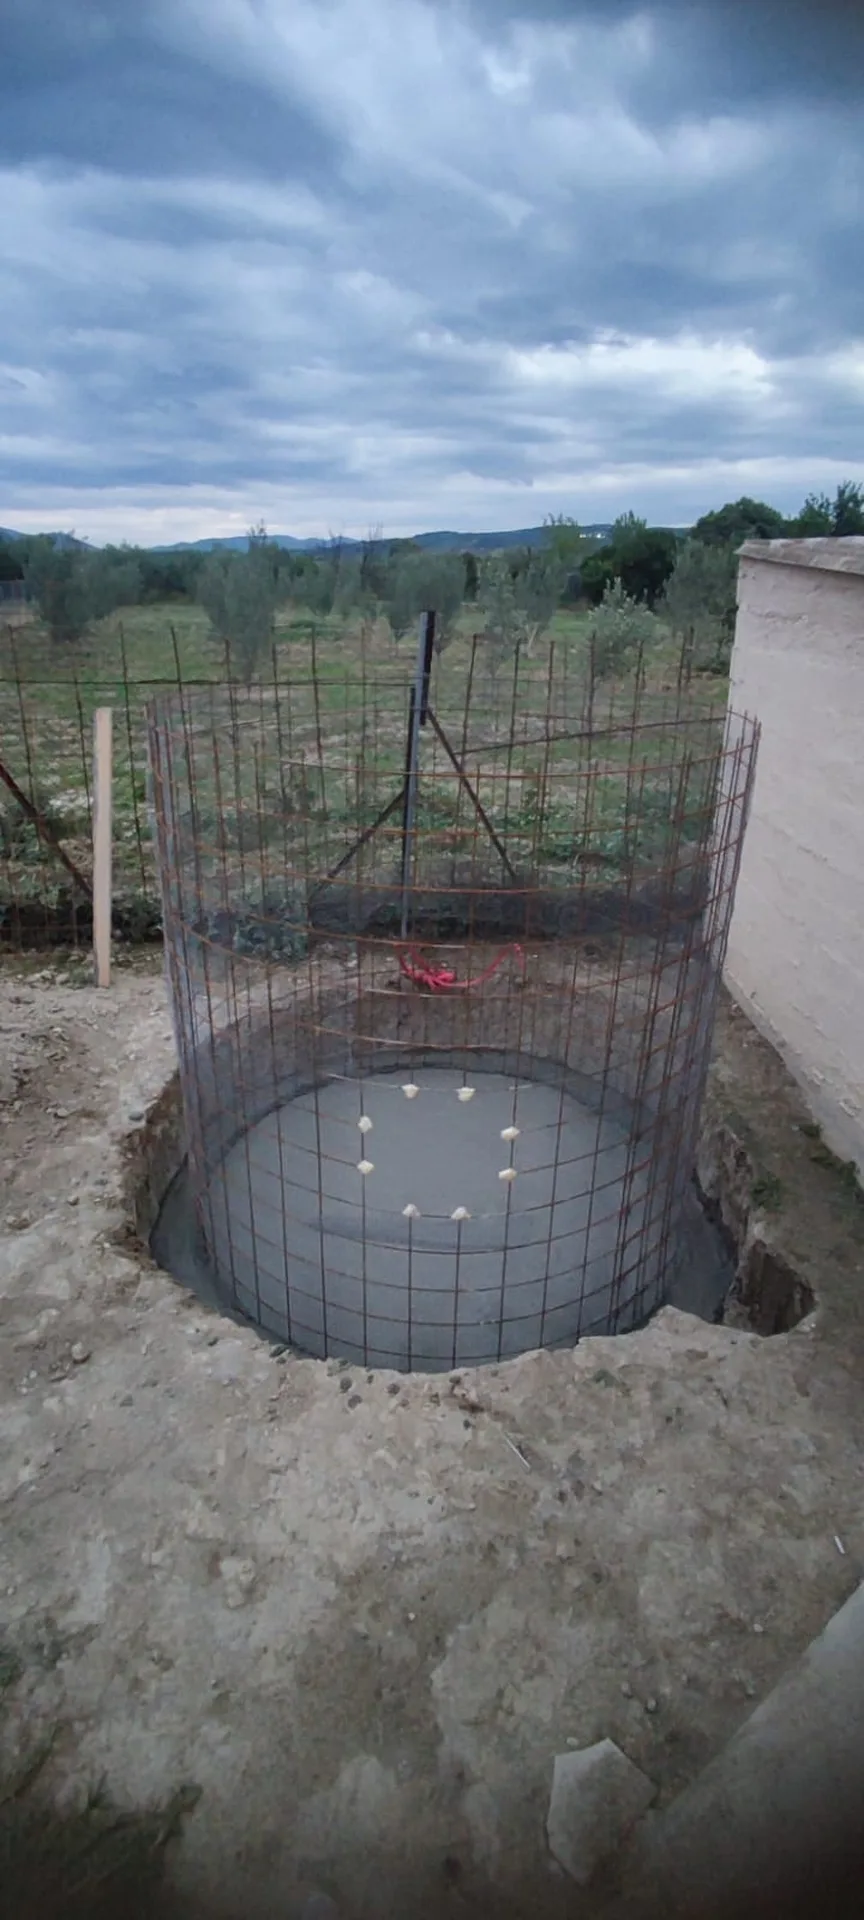
Once the area was prepared, we started with the main structural frame of the tank using reinforcing mesh.
The frame essentially provides the initial shape of the tank and acts as the foundation for the layers that follow.
We then added chicken wire mesh to both the inside and outside of the frame. The chicken wire provides a dense surface for the cement mortar to grip, allowing it to gradually bond with the metal mesh and form a unified shell.
The tank base
For the base, we used a more conventional concrete mix consisting of:
cement : sand : gravel = 1 : 2 : 3
The base is particularly important because it has to support the enormous weight of the water.
One cubic metre of water weighs approximately one tonne. Therefore, a tank holding several cubic metres of water creates significant loads on both the base and the ground beneath it.
For this reason, we paid particular attention to creating a properly compacted and evenly supported foundation.
The ferrocement walls
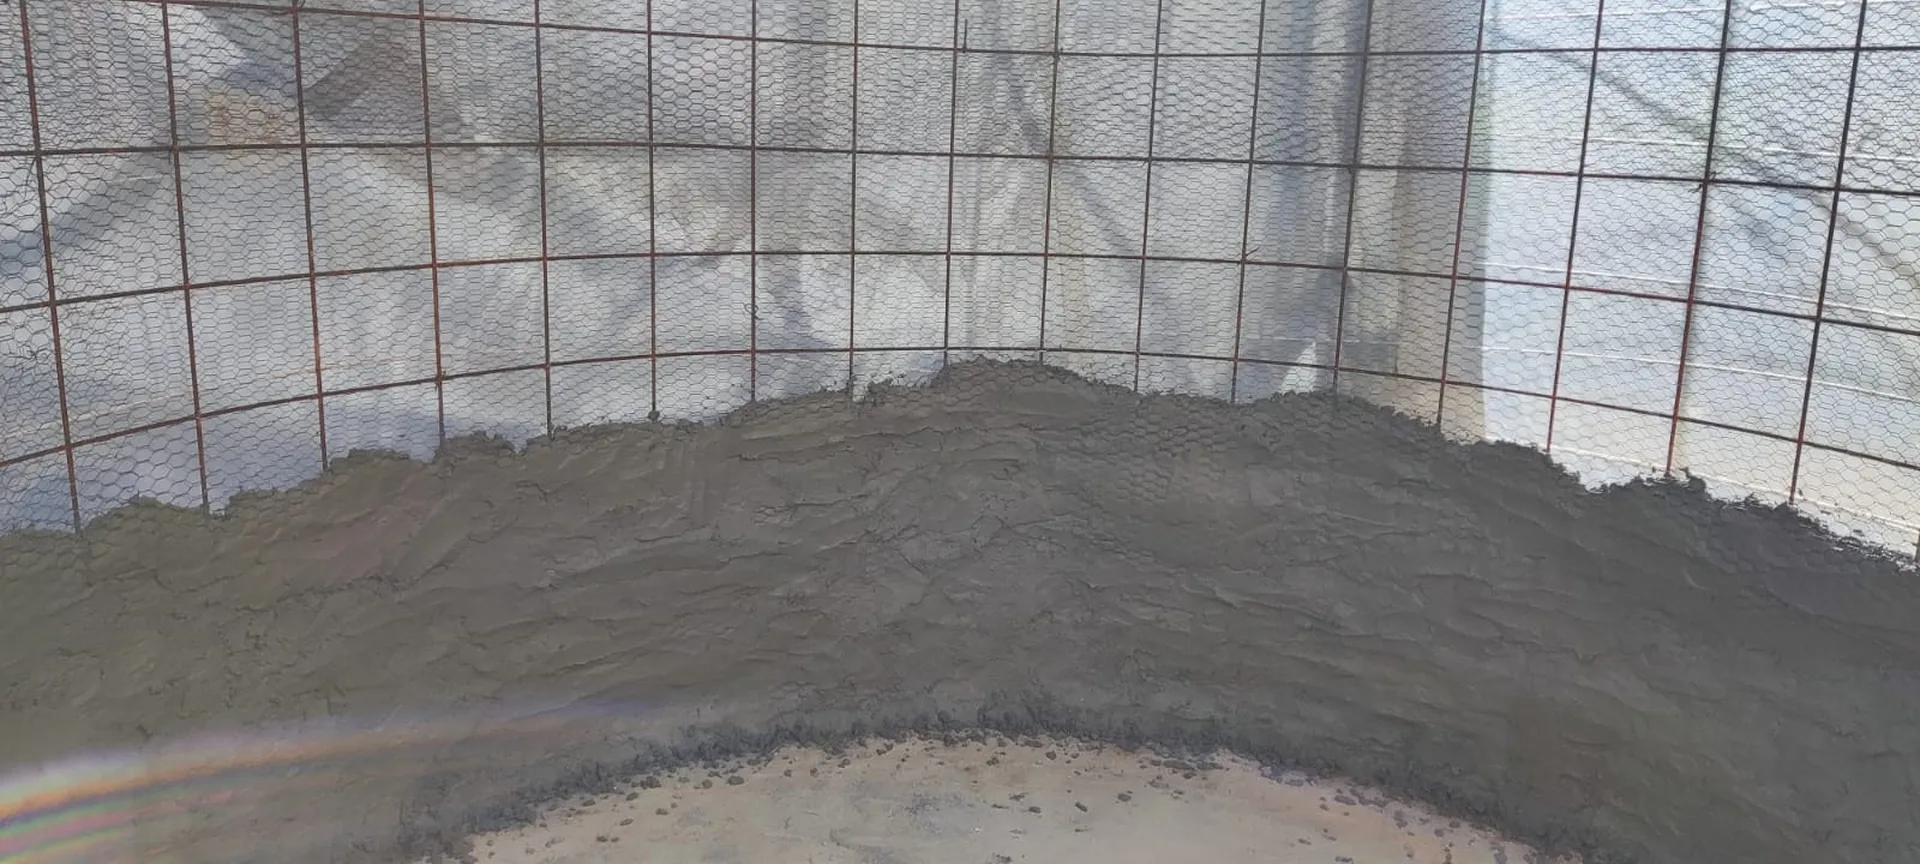
Once the frame was complete, we started the most time-consuming part of the construction: applying the cement mortar.
For the walls, we used a finer mix:
cement : sand = 1 : 2
The mortar was gradually applied over the chicken wire, filling the openings in the mesh and slowly creating a solid shell.
In total, we applied two layers on the inside and two layers on the outside, resulting in a total wall thickness of approximately 6 cm.
The process is quite different from simply filling a form with conventional concrete. Here, the thickness is built up gradually, layer by layer, and it requires quite a bit of patience to do properly.
This is also one of the advantages of ferrocement: it allows you to build a relatively large and strong tank using fairly simple materials and without heavy formwork.
Waterproofing
The next important step was, of course, waterproofing.
We used a food-safe waterproofing admixture suitable for contact with drinking water as part of the waterproofing system.
For us, it was important to use products specifically suitable for water storage rather than simply using any generic waterproofing product.
At the top of the tank, we installed sheet metal to protect the upper part of the structure and provide a cleaner and more practical finish.
Plumbing and rainwater collection
We had also planned the necessary plumbing from the beginning.
We installed a threaded pipe fitting for a tap, allowing us to easily access the water whenever the vegetable garden needs watering.
We also used PVC pipes to channel rainwater into the tank. This allows us to make use of some of the rainwater instead of letting it simply run off and go to waste.
Finally, we installed a 50 mm PVC overflow pipe, so that when the tank is full, excess water has a controlled way to drain away.
Why did we choose ferrocement?
The construction was not necessarily the fastest or easiest solution. Ferrocement requires quite a lot of manual work, especially when applying the multiple layers of cement mortar.
But that's also what we liked about the approach. We were able to build a large water tank ourselves, using materials that were relatively easy to source and without the need for complicated formwork or heavy equipment.
For our particular needs, the balance between cost, size, strength, and the ability to build it ourselves is what ultimately made ferrocement worth the effort.
In the end, the tank is another small part of our effort to make the farm more self-sufficient. By collecting and storing rainwater and using it to irrigate our vegetable garden, we can make better use of a valuable natural resource and reduce our dependence on the water supply network.
Note: This article describes how we built our own tank. Dimensions, wall thicknesses, reinforcement, and waterproofing methods should be adapted to the specific conditions and loads of each project. For large tanks or structures subject to significant loads, the design should be reviewed by a qualified engineer.